I recently put together a REEL over on our Instagram page with eight ways to layout subway tile. So many people liked it, I thought it might be great to give it a permanent place right here on the blog.
So without further ado, here are eight ways with inspiration photos of how to lay subway tile.
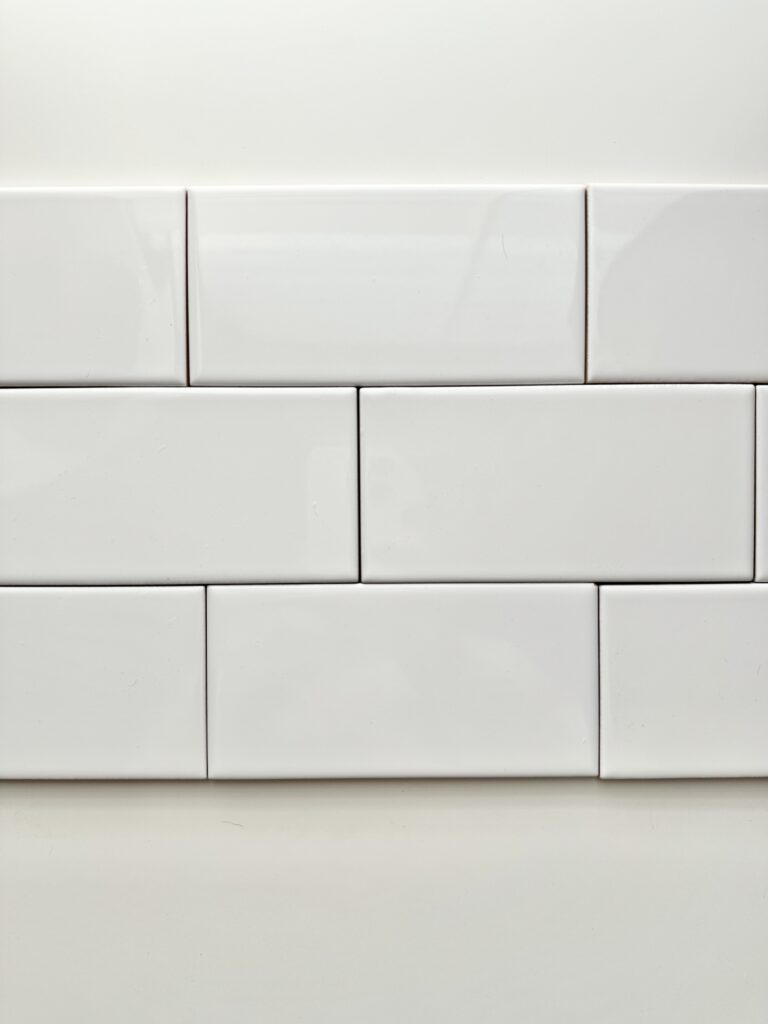
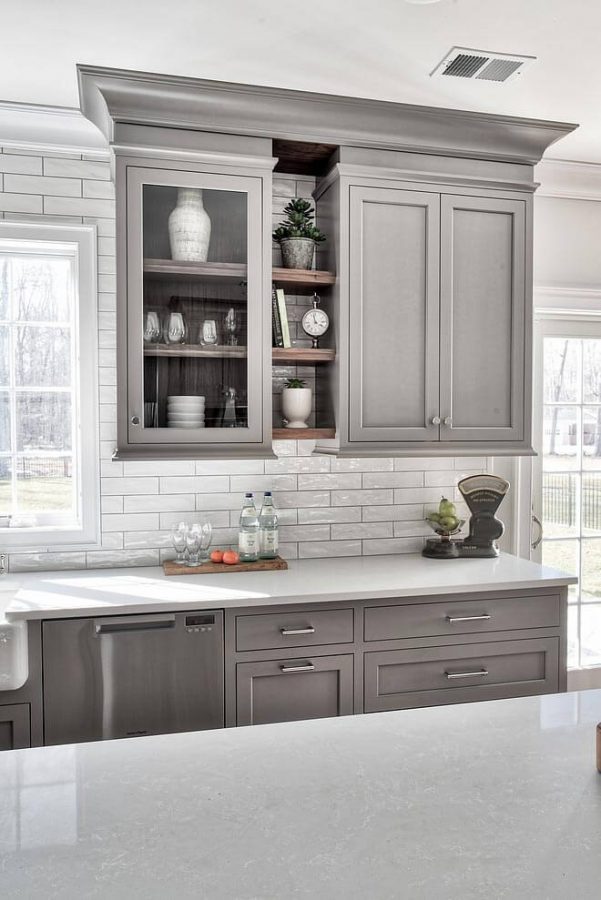
BRICK LAY: probably the most common way to lay subway tile. I always love a classic brick lay. The top photo is a reference for you. The second photo is an inspo I love and I am sure you will too.
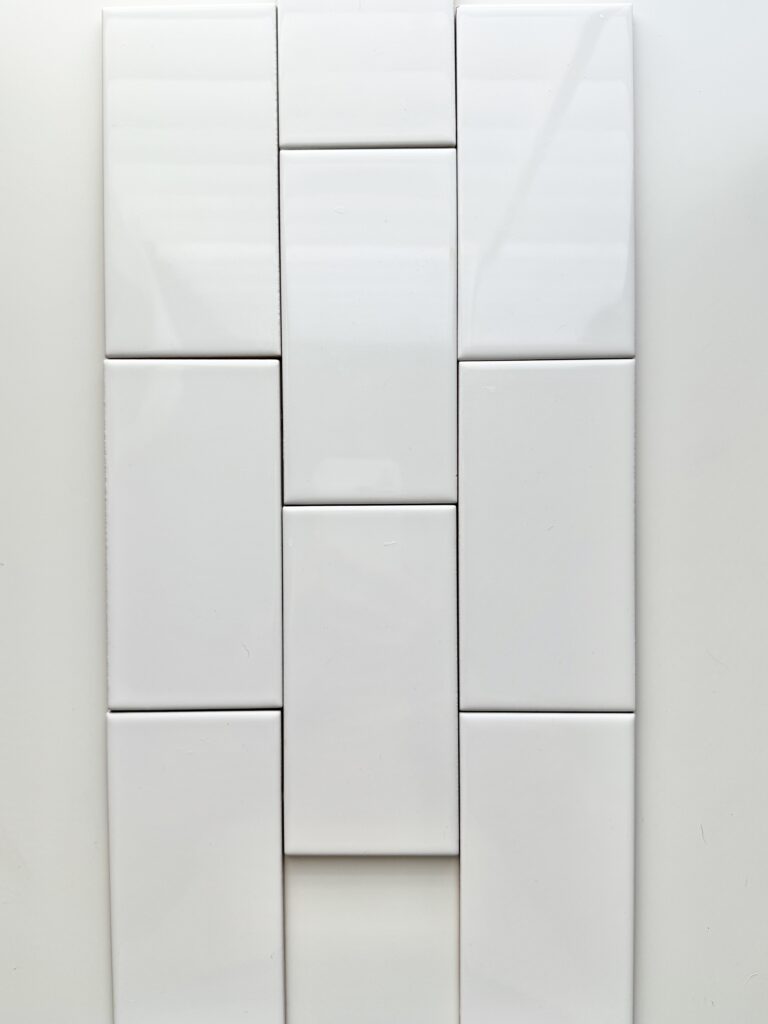
RUNNING BOND or VERTICAL BRICK LAY: This lay screams modern, sophisticated and sleek to me. I love in spaces that need height. Laying brick like this tends to draw the eye upward. The top photo is a reference for you. The second photo that inspires me to try this tile lay.
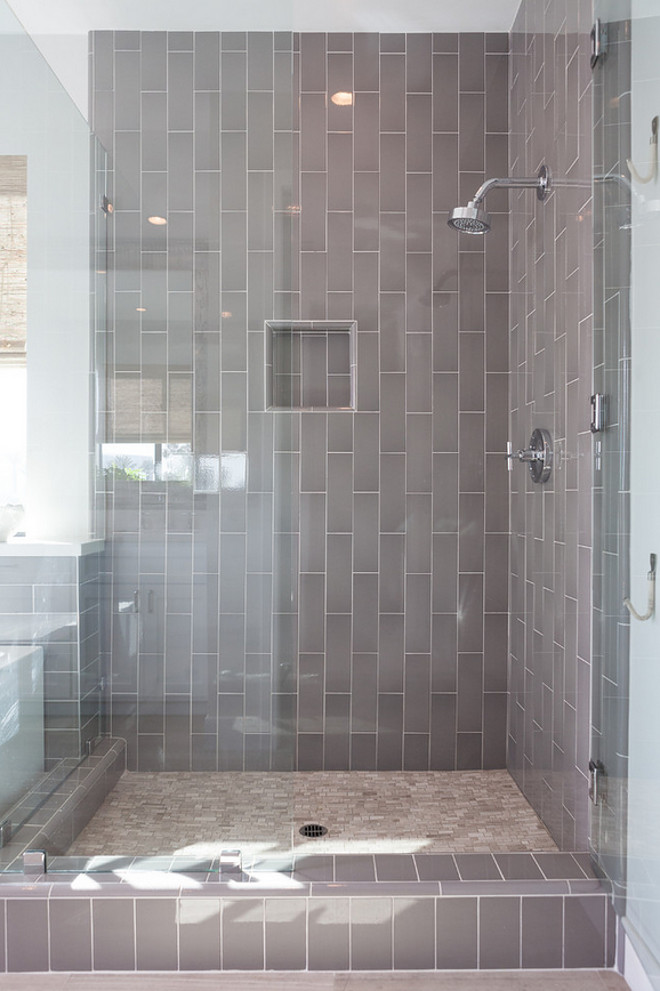
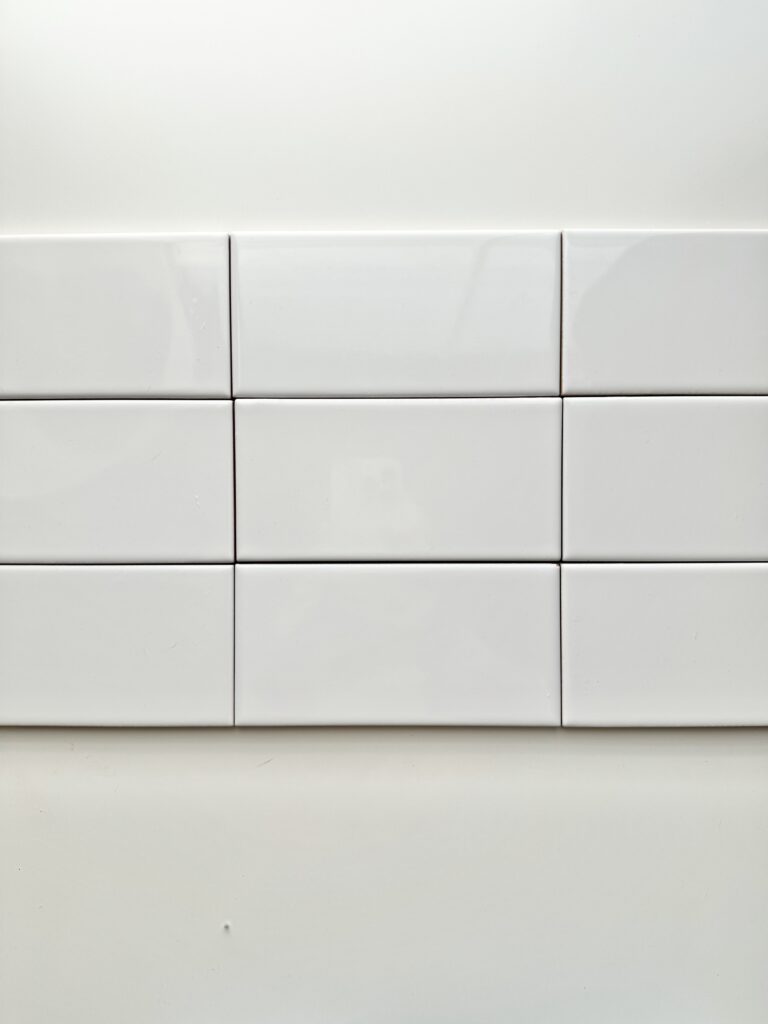
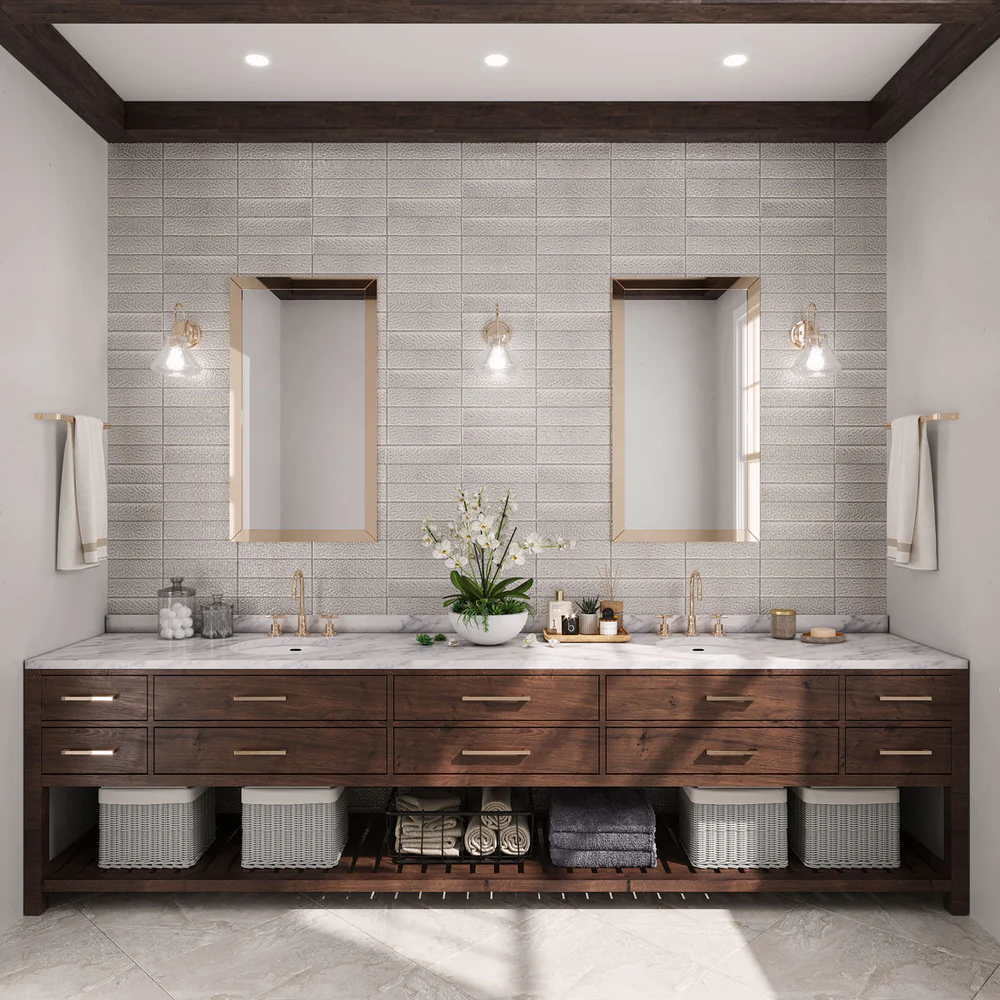
HORIZONTAL STACKED: Get ready to brace yourself for the inspo below. This horizontal stack shows up in the most beautiful of bathrooms. It’s not fussy and allows all of the elements of the room to have their moment. I am so inspired to try this in upcoming projects.
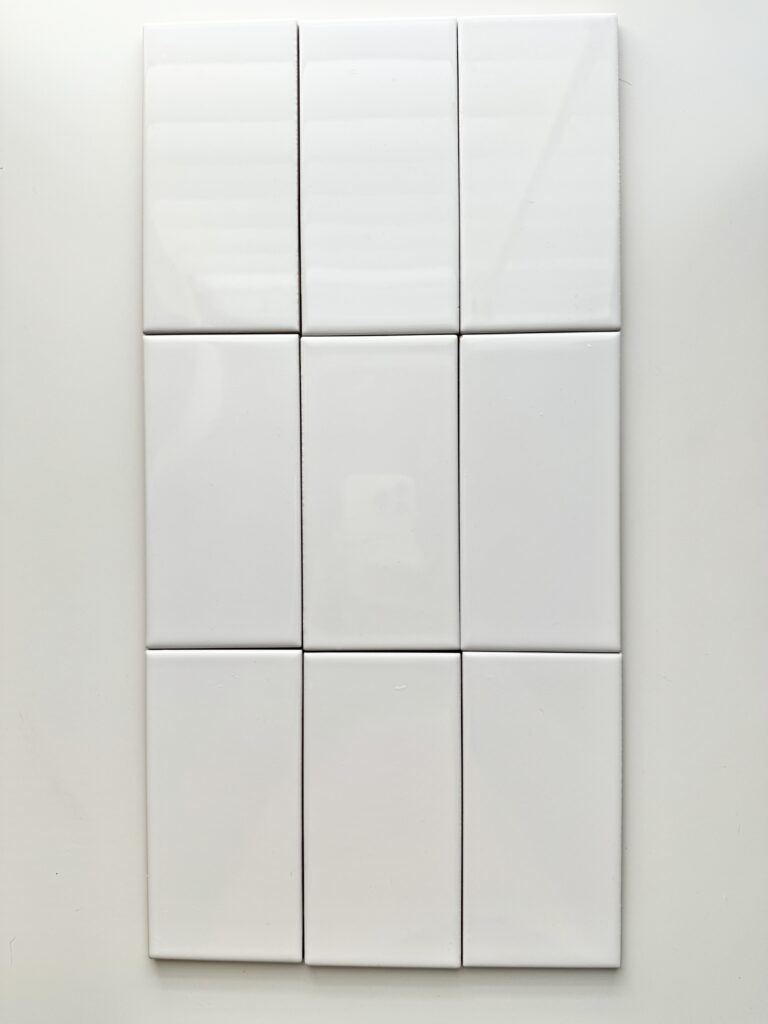
VERTICAL STACKED: This pattern is perfect for rooms where you want to bring in straight clean lines. It can lean modern but look how classic it shows in the insp photo below. I am inspired. Are you?
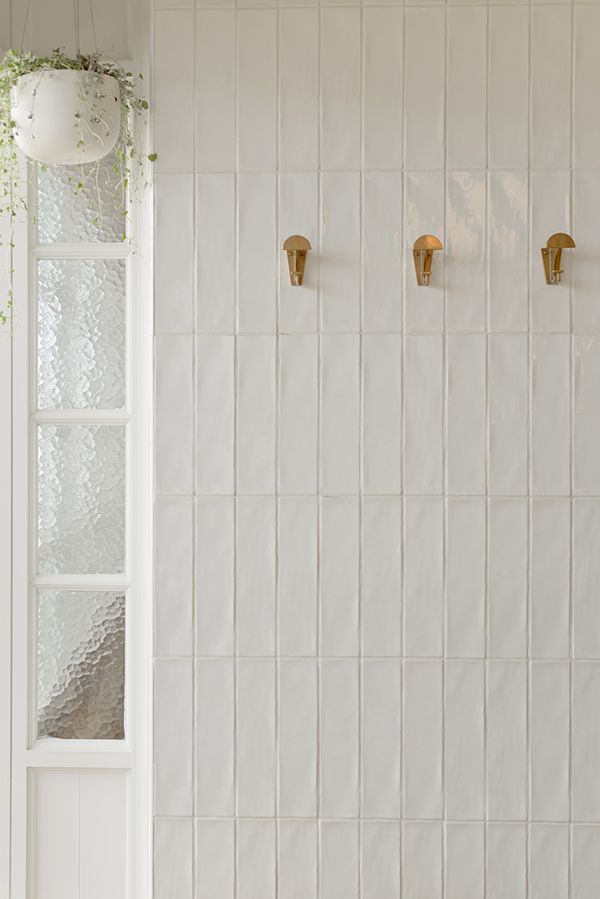
VERTICAL OFFSET: I love this lay especially with marble or zellige tile. It is showing up a lot in design right now. You can see below how soft and warm it looks in this beautiful inspo photo with marble. And how about that elongated niche? Love how it adds to the overall aesthetics of this surround.
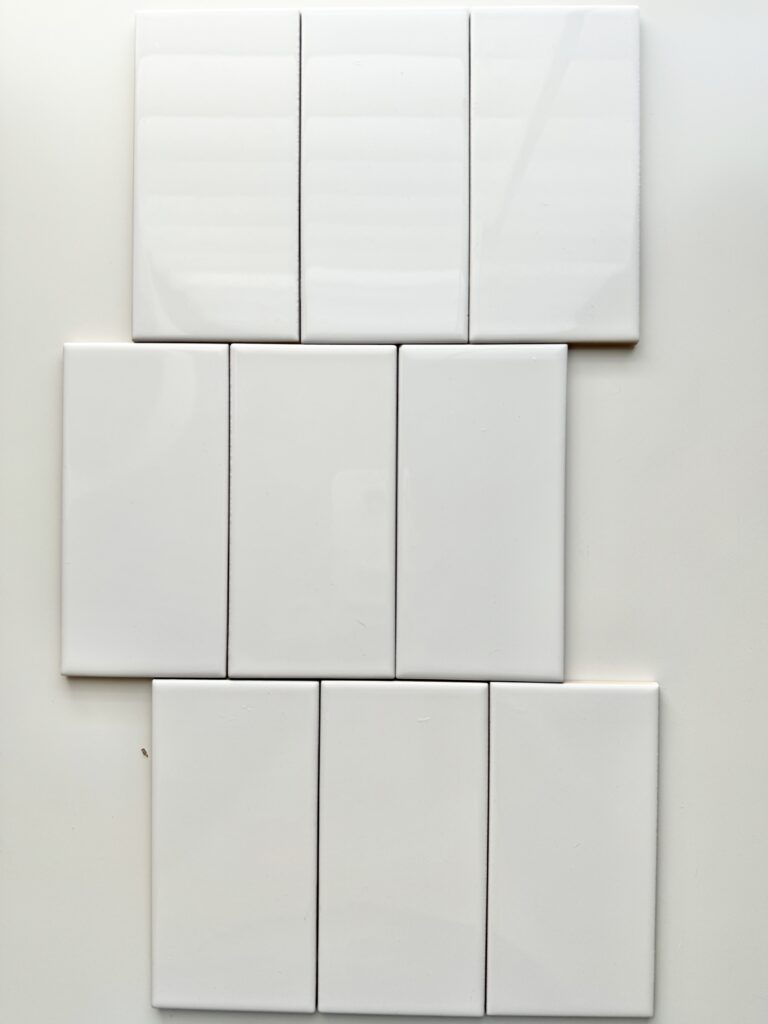
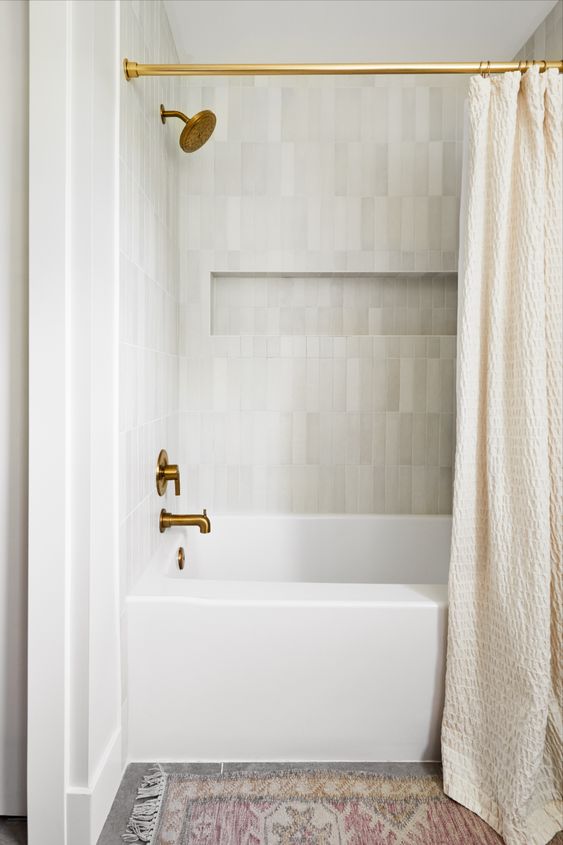
BASKETWEAVE: Loving this pattern for a whimsical twist. Recently it showed up in a tub surround of our Jane Project. It gives pattern and dimension. We love how it turned out in this handmade glazed tile.
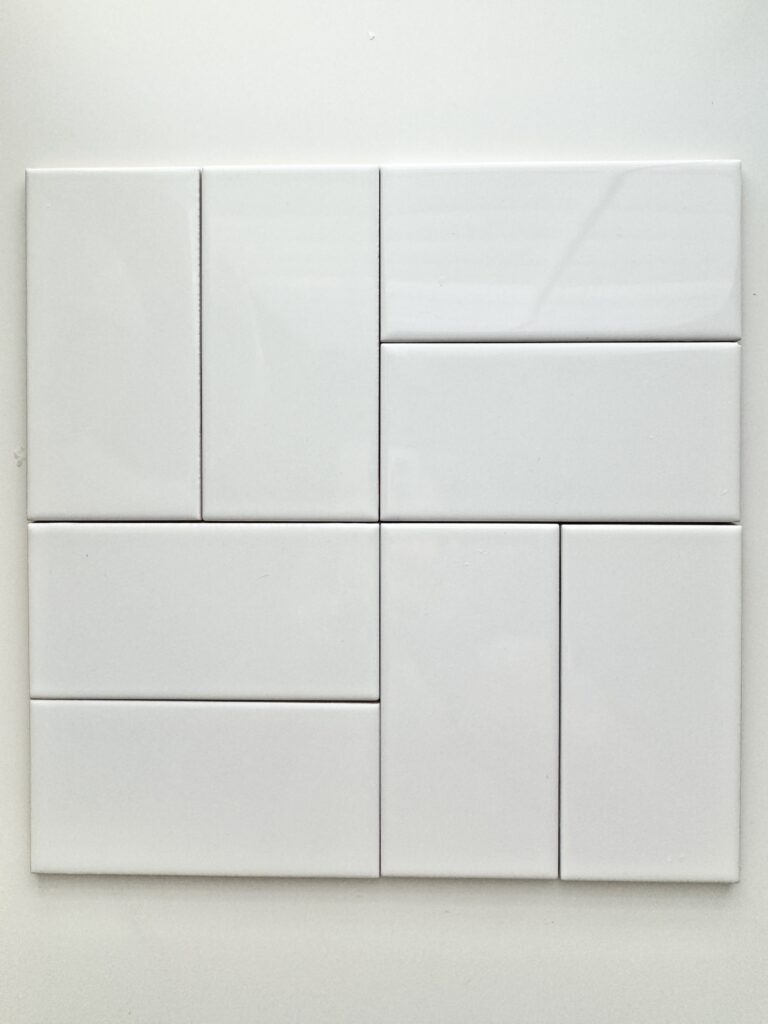
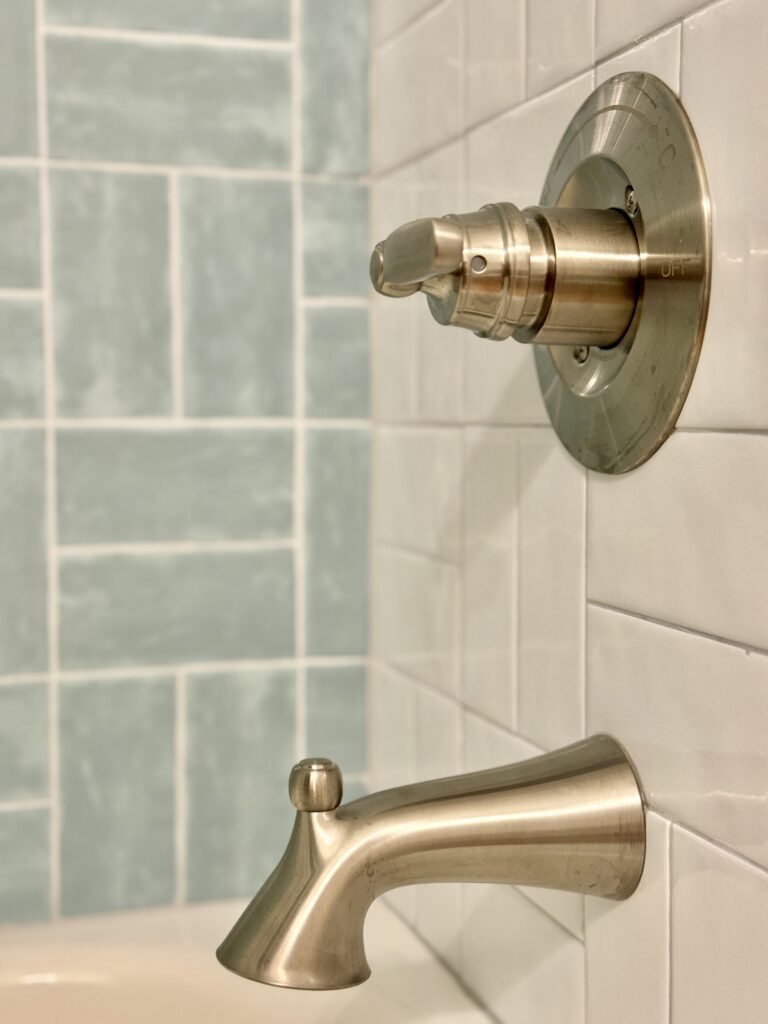
TRADITIONAL HERRINGBONE: Classic lovers unite over this timeless pattern. If you are looking to switch up your pattern from traditional brick lay, we recommend trying herringbone. It will withstand the test of time and we think you are sure to still love it 10 years down the road.
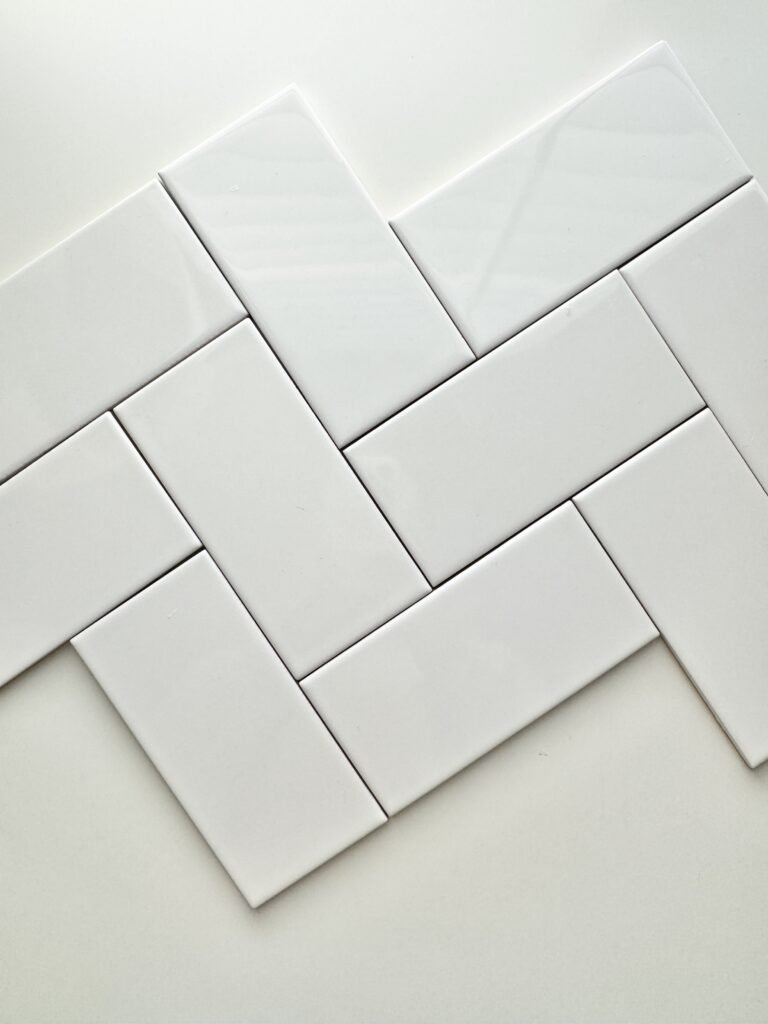
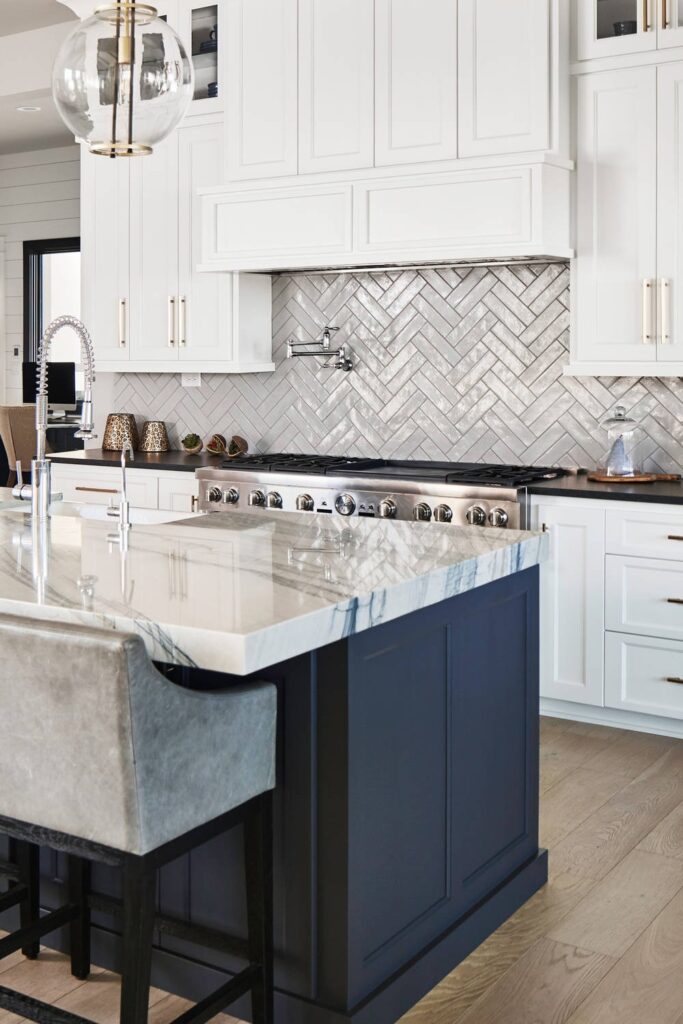
STRAIGHT HERRINGBONE: Turn your herringbone pattern to a 90 degree angle and achieve this look that leans a little more modern in our opinion. The insp below pairs it with darker grout to let the pattern and hard work really shine. For less of a contrast, match the tile and grout color.
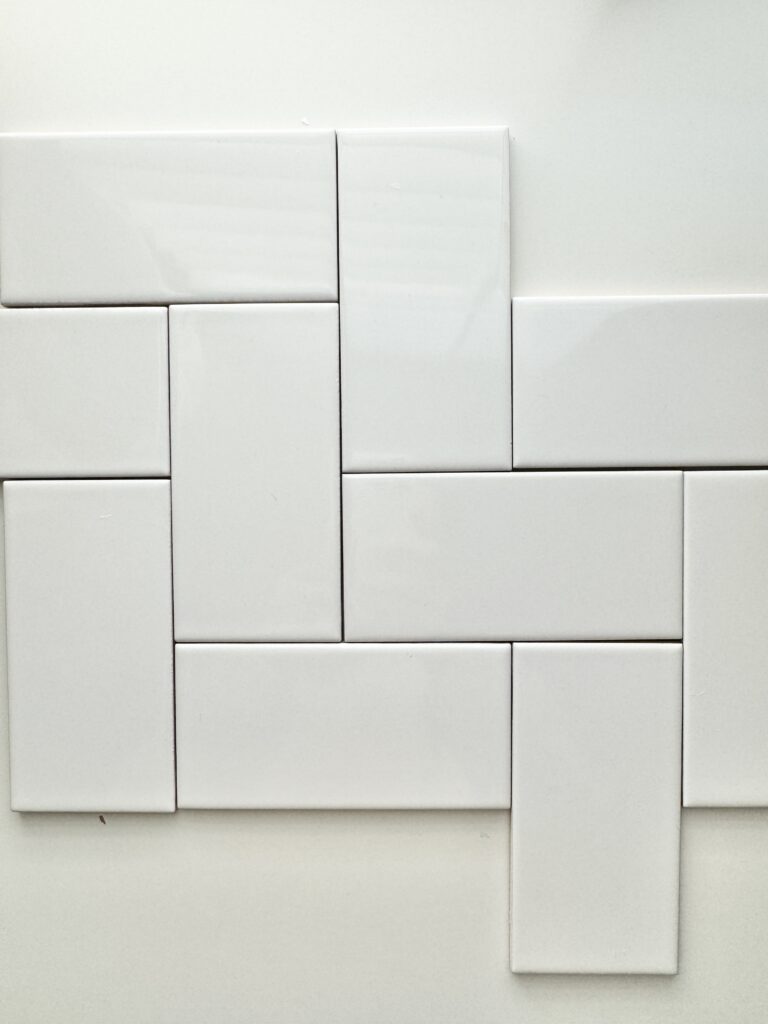
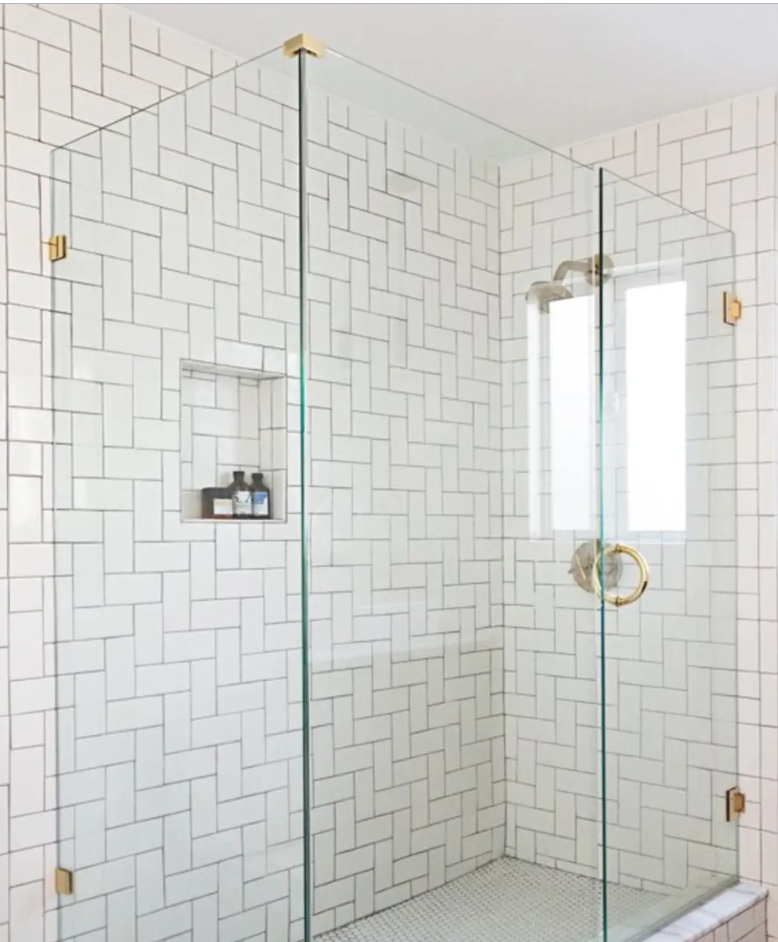
We hope you have learned a little more today about different ways to lay tile. Be sure and save this post for future reference or share it with a friend who may be in need of some inspo as well.
As always, we are so thankful you are here. If you have questions or comments, leave them below. We will do our very best to answer anything we can.
Blessings,
Lyndsey
leave a comment